


Hi, There! This is a Step by Step tutorial for another lovely rose just for you. This time you'll be using SU!s Eyelet Border punch. Here are the items you'll need:
- 2 strips of cardstocks measuring 1" x 11"
- Eyelet Border Punch
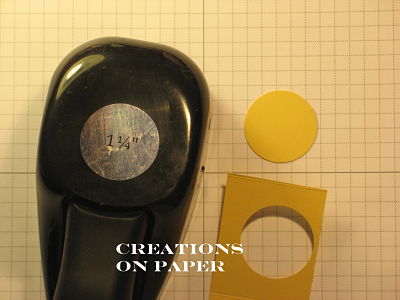
- 1-1/4" Circle Punch
- Bone Folder
- Crimper
- Hot glue gun or glue
INSTRUCTIONS:
STEP 1: Punch
Punch one side of each strip using the Eyelet Border Punch

STEP 2: Distress
Using your bone folder, distress your strips like a curling a ribbon.

STEP 3: Crimp and Fold
Using your Crimper, crimp both strips of your cardstock, then fold your strips in a slanted manner to make an inward twirl.


STEP 4:
Using your 1-1/4" circle punch, punch a piece as the base of your flower. Then apply glue to the edge of your circle to immediately twirl and adhere your cardstock strips.


STEP 5: Form the flower
Apply glue on the next round as illustrated until the base grows smaller.


STEP 6: Finishing the Rose bud
Before glueing the center, scroll the end piece of the strip remaining to make a bud then apply a glop of glue on the center of the base to adhere your bud.

THEN YOU HAVE YOUR ROSE!!! Enjoy and have fun making them!

Please let me know if you have any questions or suggestions. Please visit my blog and my Stampin Up Website! Have a nice day!


2 comments:
I saw this in Stampin' Success and couldn't figure out how they did it. Never thought to use hot glue....duh! Going to give it a try and see if I can get my rose to look like yours, or even close.
Thanks for the tutorial, you're the BEST!
Thanks, Cindee! Yup, I saw it in Stampin Success and tried making it following the instructions posted. But I used the hot glue to stick the strips faster. You'll know why I had to make this flowers fast when you see my next project :)..hihi.
Post a Comment